No manufacturer
No supplier

Tue, 11. Dec 2018
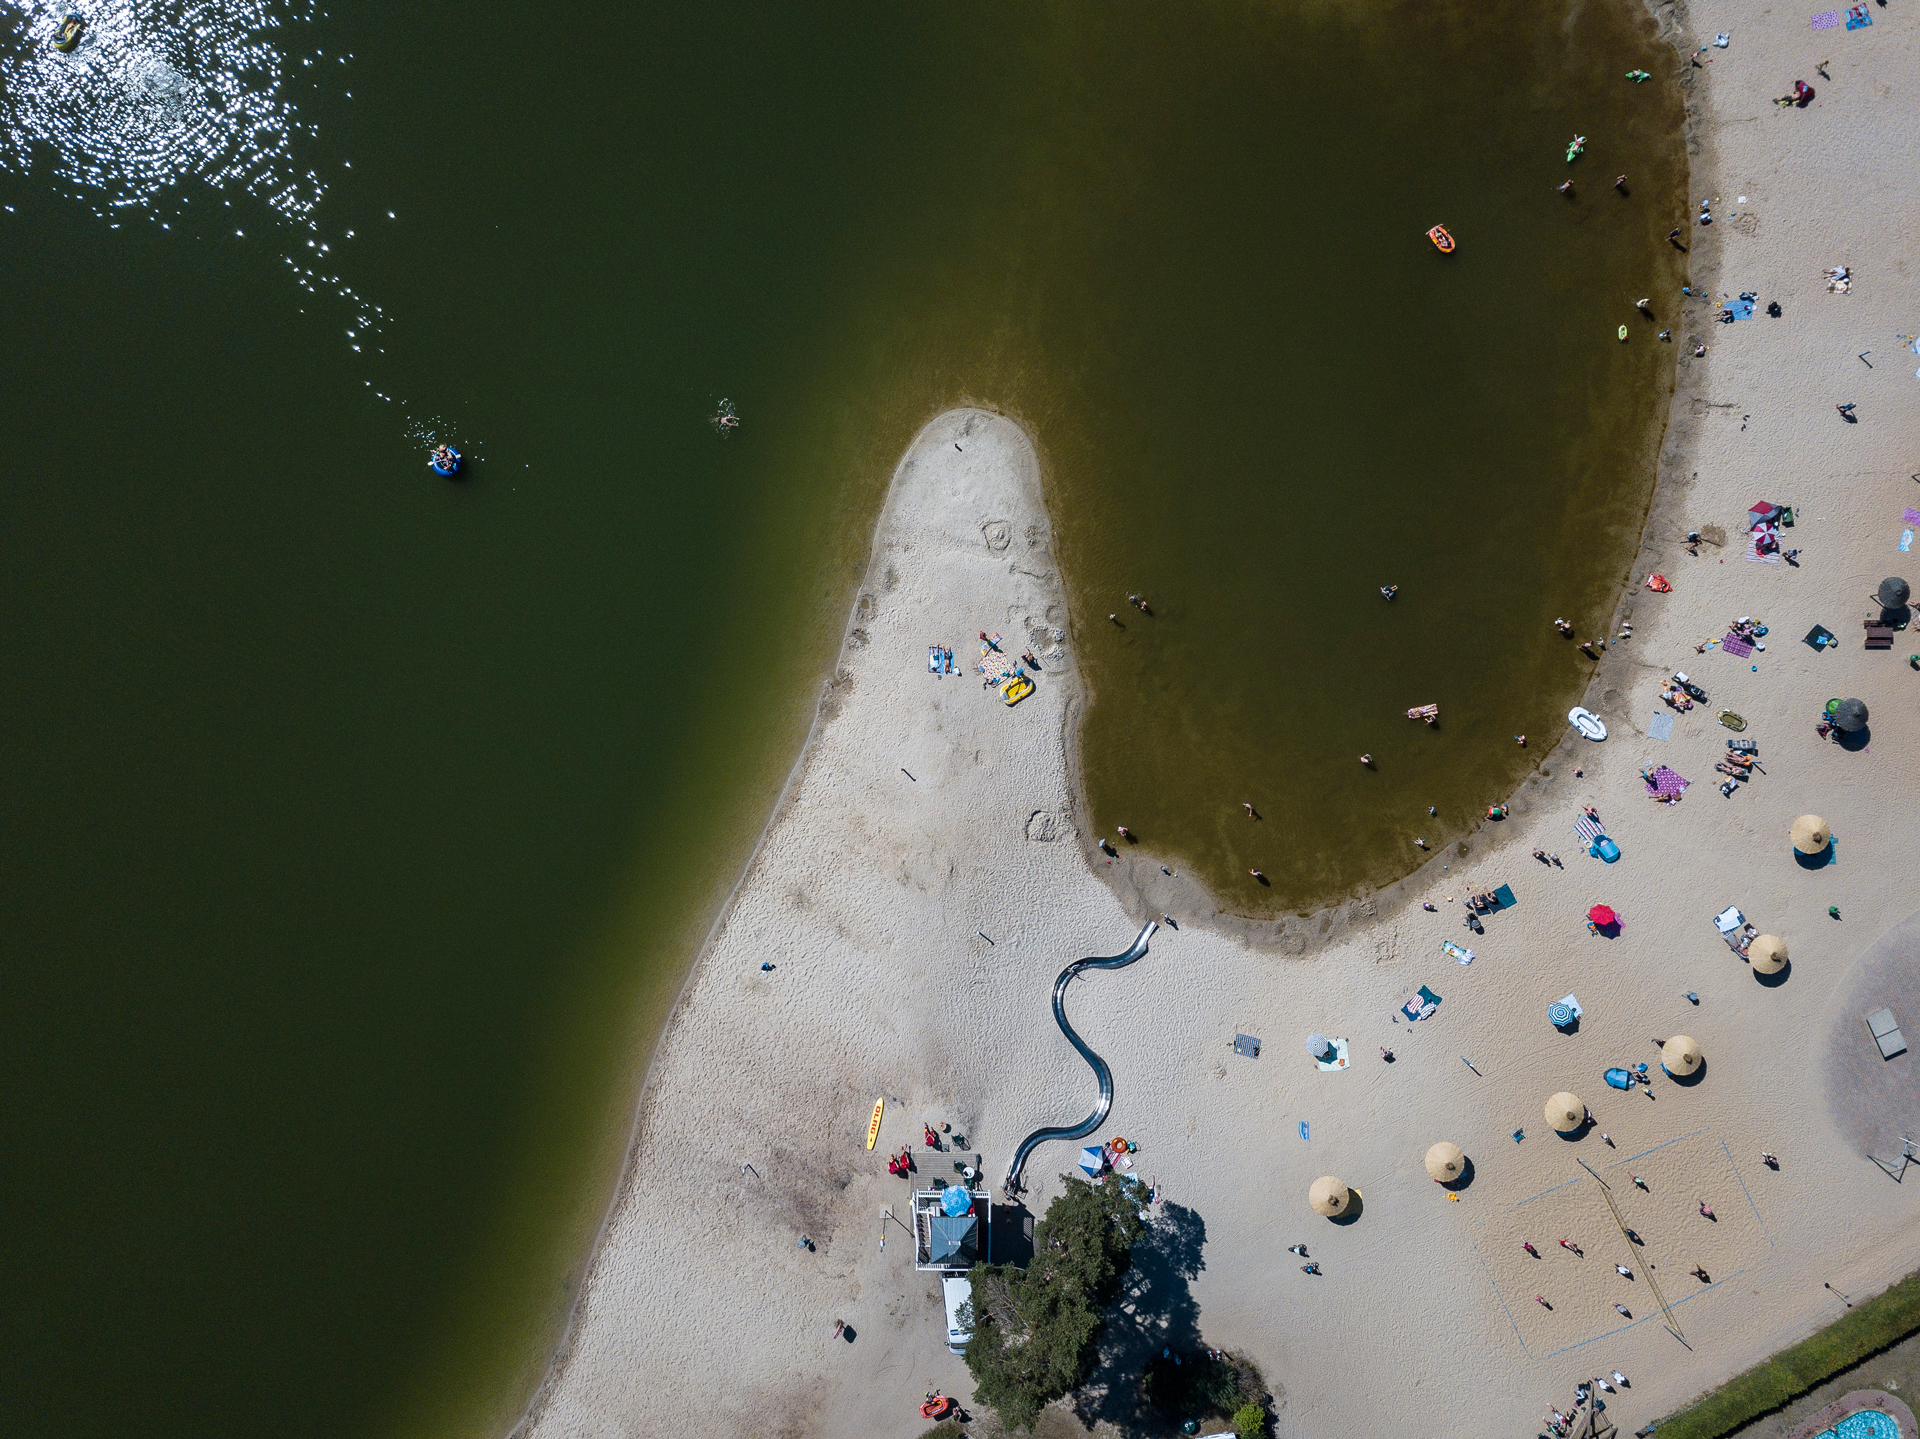
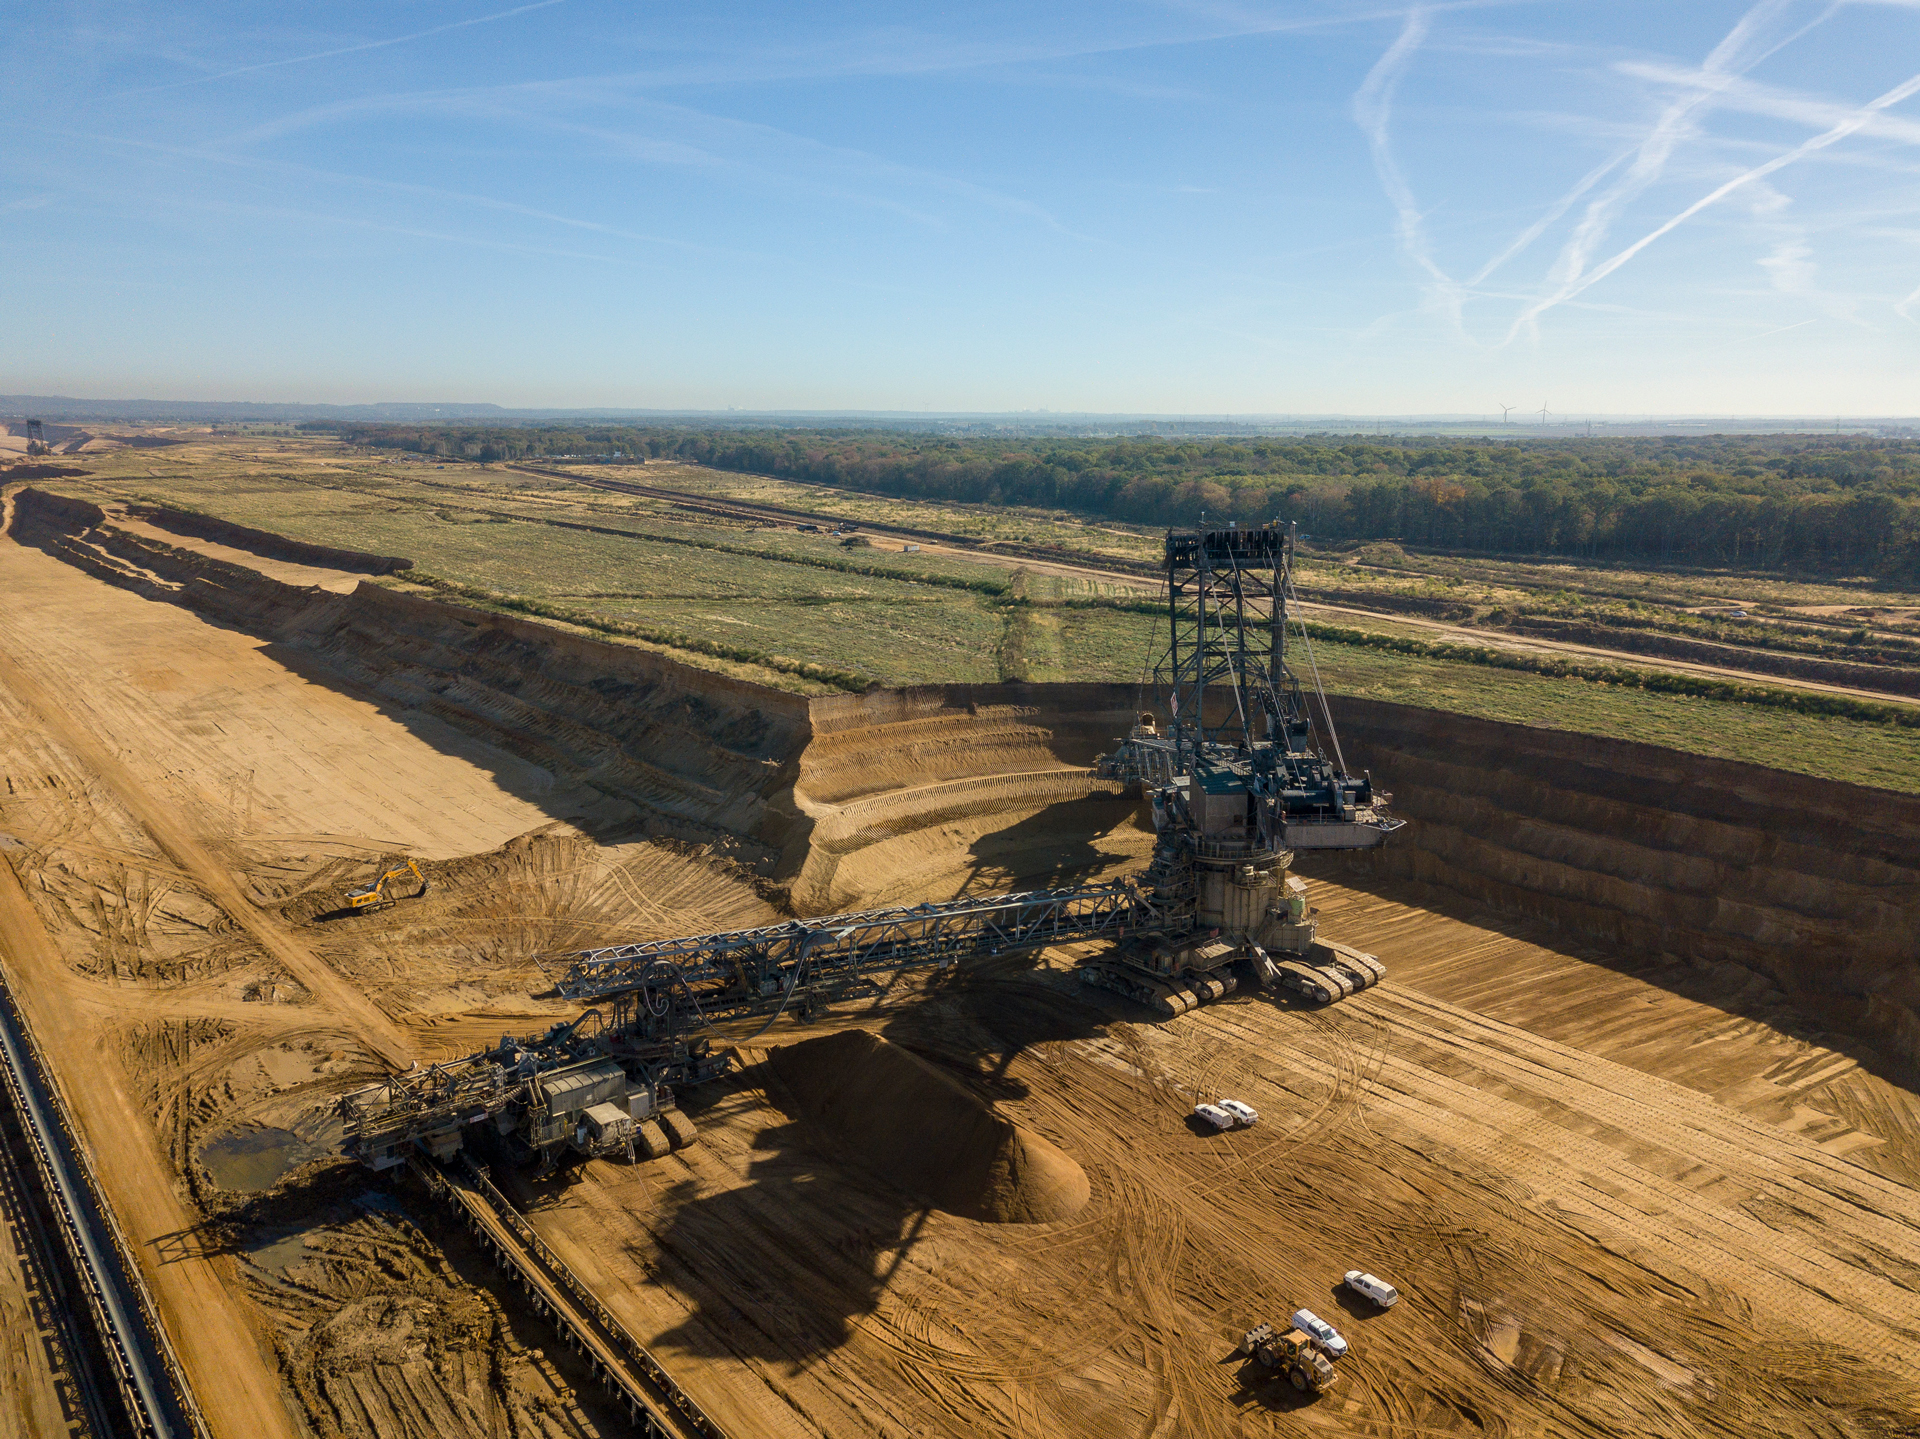
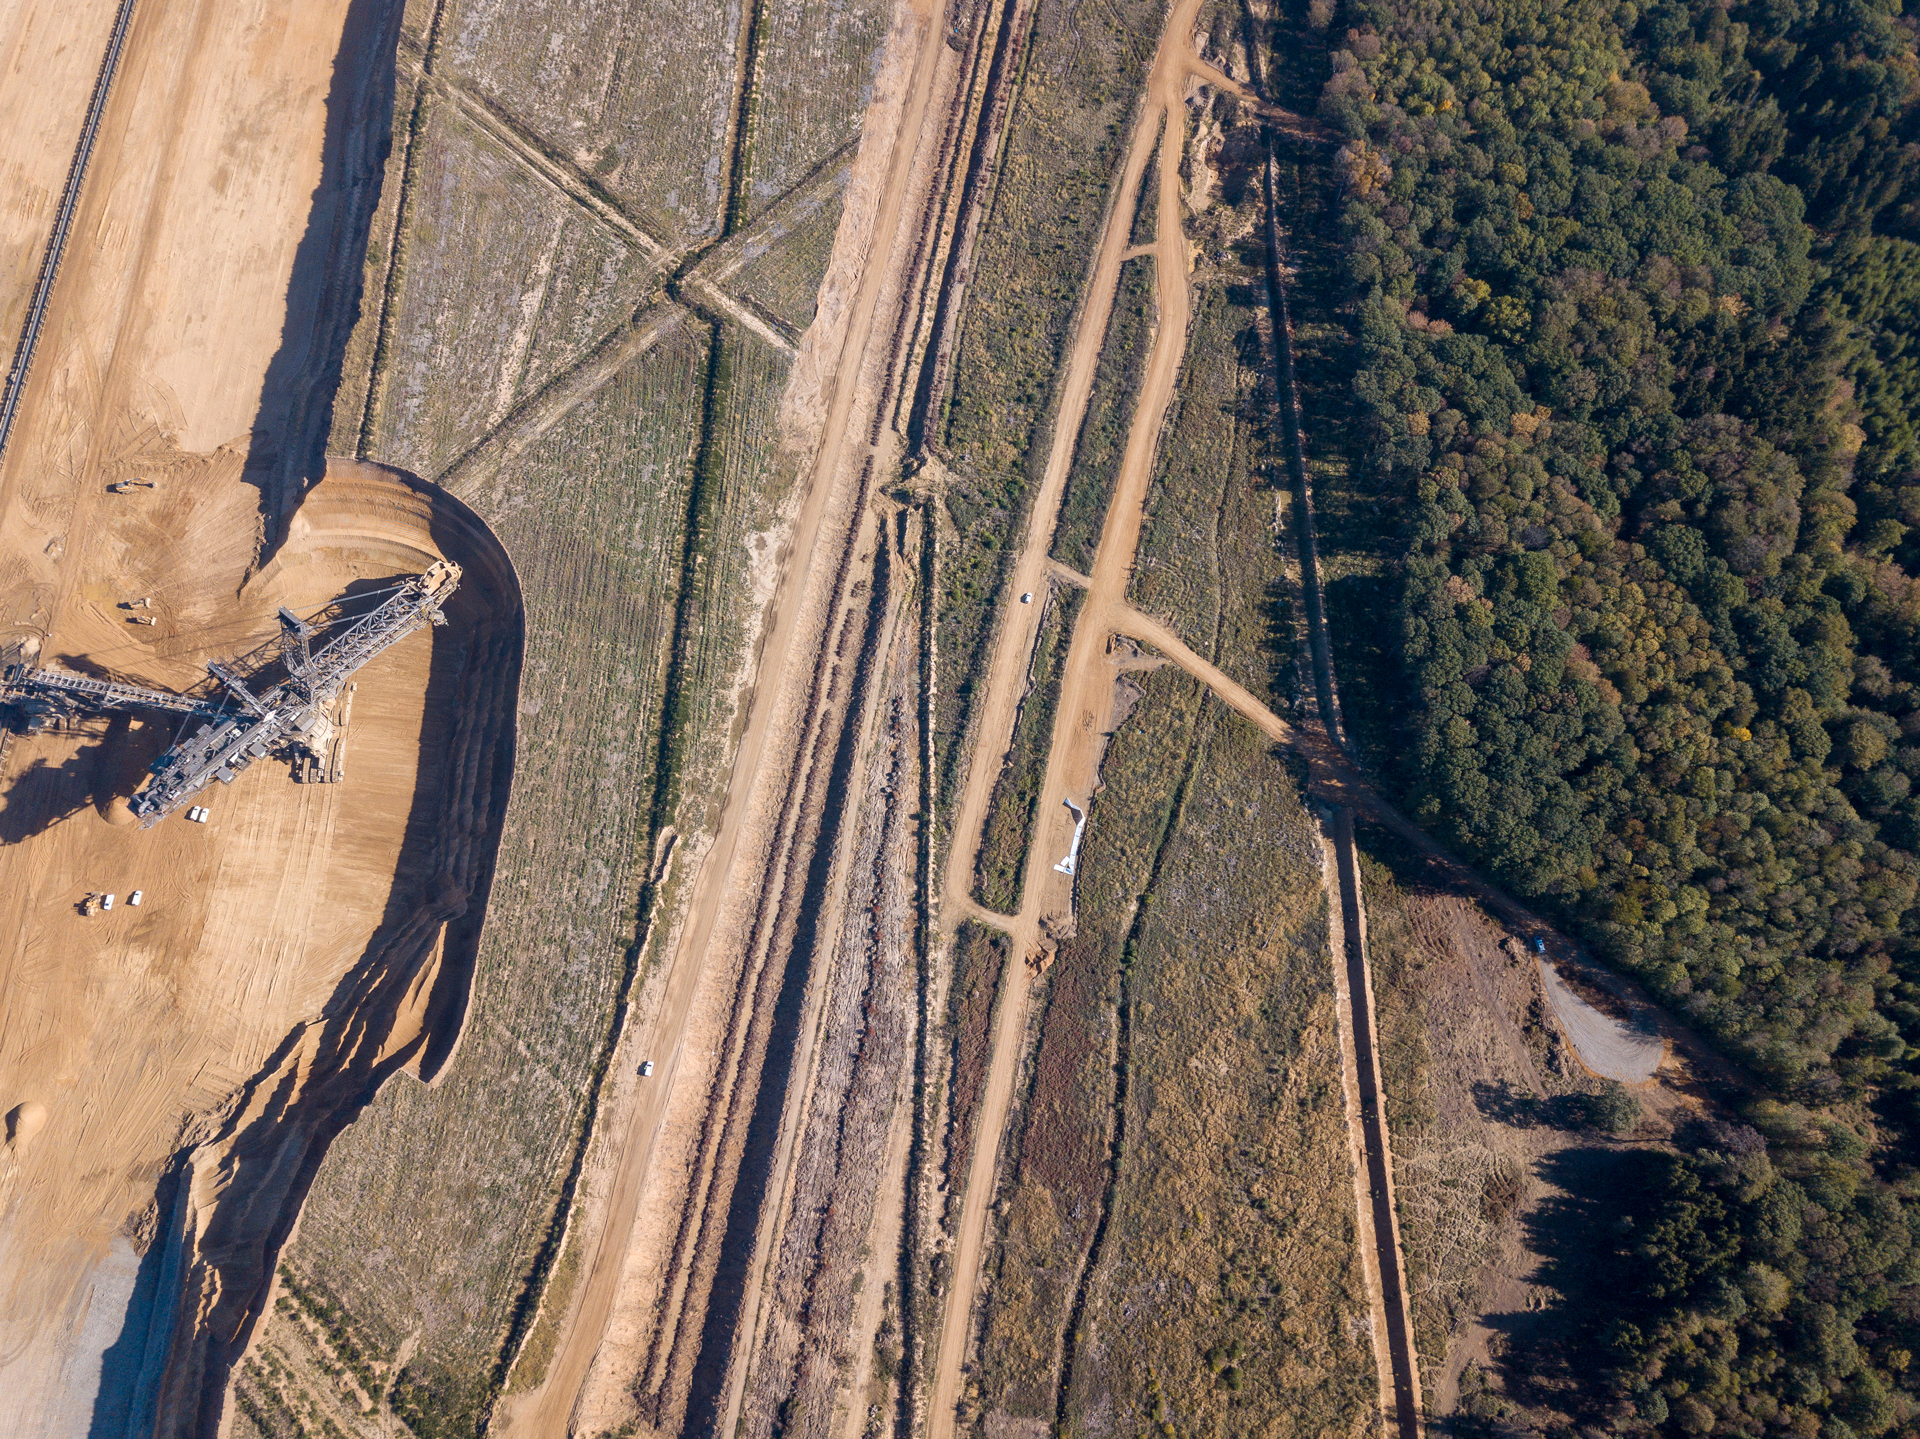
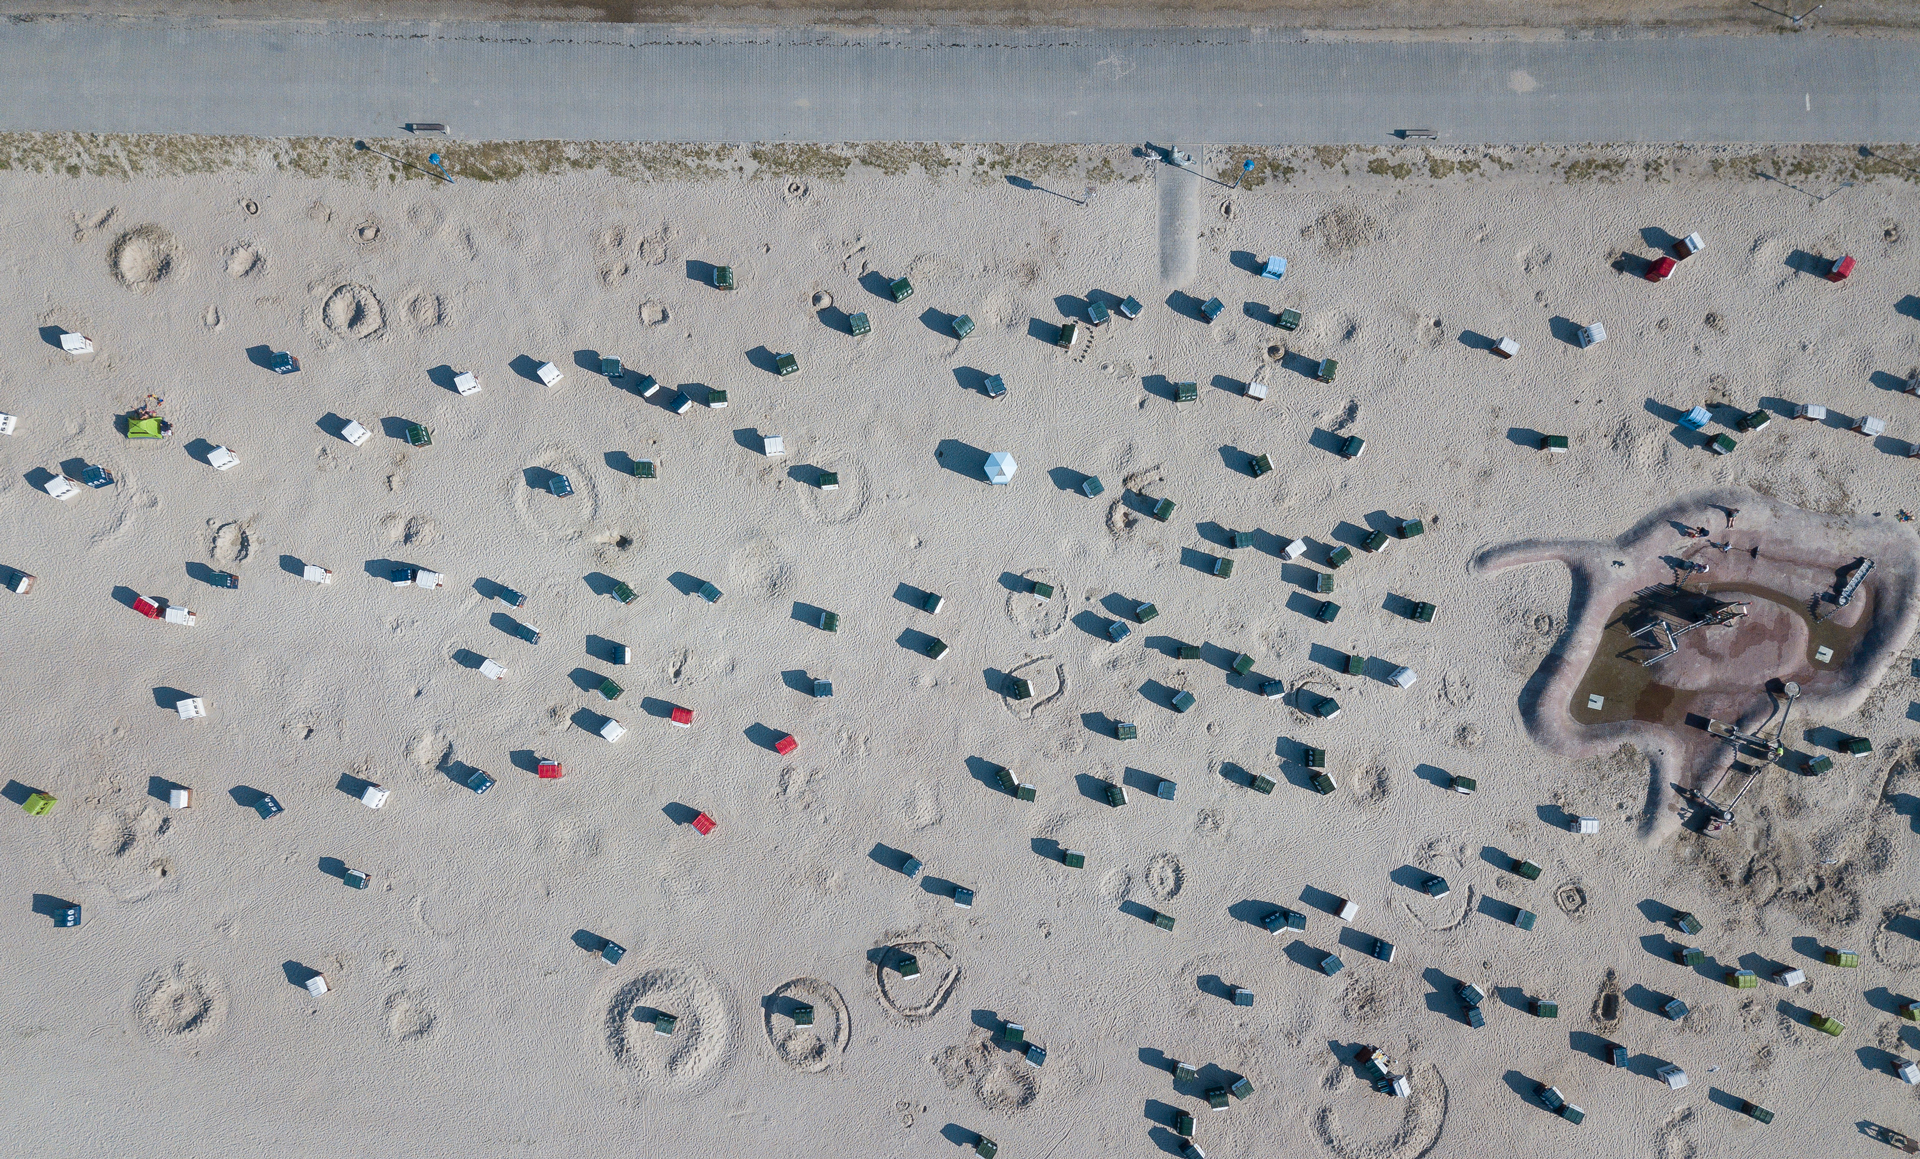
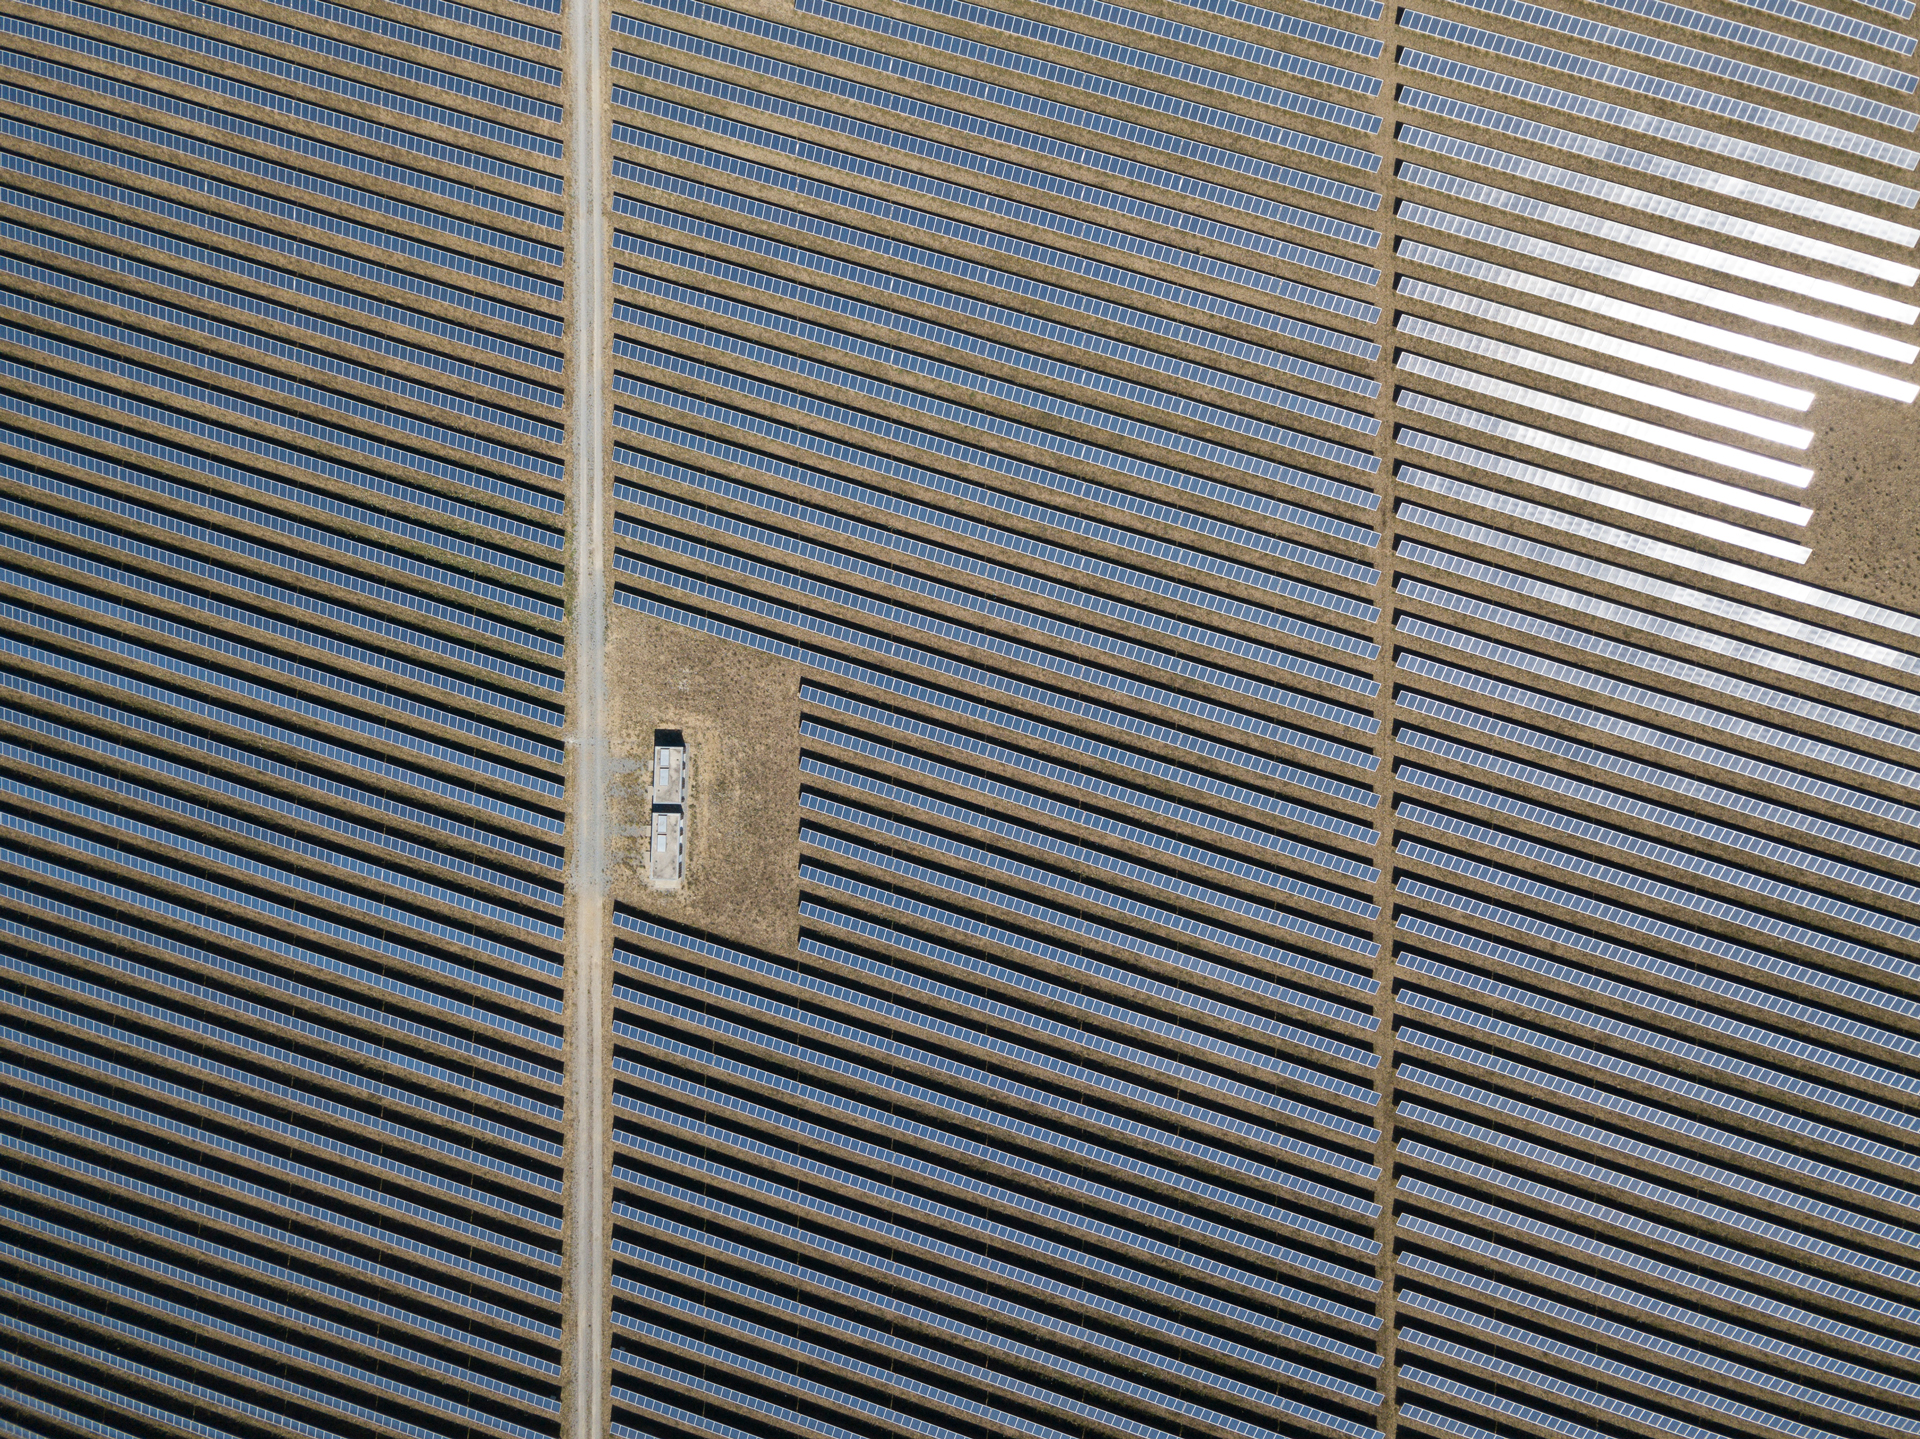
Take aerial photographs easily with a drone
The sky is so close. Practical tips for taking breathtaking aerial photographs.
In the past, it was only experienced professionals with high-tech equipment who could take photographs from the air. Today, however, increasingly inexpensive and sophisticated technology enables almost anyone to take impressive aerial photographs. Although you can still soar into the air in an aeroplane or a hot air balloon to look through the lens, today modern drones have made many things possible that we wouldn’t have even dared to dream about a few years ago. Here are our tips for taking fantastic aerial photographs.
Safety first – follow the rules
Largely sophisticated drone technology now enables ordinary people to photograph unique panoramas and take aerial shots too. Depending on the application and requirements, the type of camera used is much more important than the drone type. But before you launch your drone into the air, you need to find out about the legal situation. A drone used carelessly can cause all sorts of damage.
Aspiring drone pilots can find all the important rules about proper drone use on the Federal Office of Civil Aviation website.
In short, you don’t need a separate permit to fly a drone with a weight of up to 30 kg (this applies to most consumer drones, such as the DJI Mavic). It is not permitted to fly over or less than 100 m from groups of people, near control zones (such as airports), if you do not have direct eye contact with the drone or close to where the emergency services are working.
Before the (first) flight you must, therefore, be well informed – including about whether you’re covered by liability insurance – and some common sense would also not be a bad thing.
Choice of camera and accessories
For basic requirements, a smartphone camera or a simple compact camera will do. We advise those who want a particular result to use a digital single-lens reflex camera. The right accessories enable you to get even better results. These may include different lenses, for example a zoom lens with a small focal length of 17 to 40 mm or a telephoto lens with a bigger focal length of over 100 mm.
We recommend a camera stabiliser fixed between the drone and the camera, which prevents wobbling for steady images. A neutral-density filter (ND) or a polariser (PL) offer further help. The ND filter reduces the amount of light entering the camera lens and thus ensures that the shutter speed can be increased, even in extremely bright conditions. The PL filter helps to enhance or eliminate reflections. Extra batteries and memory allow for more endurance and time to experiment.
Many drones, such as the DJI, actually have a fixed camera attached which is good enough for domestic use (and more), meaning that no camera accessories are needed. In this case, it is extra batteries and different, quieter propellers that are more important.
Time, place and weather
Beginners especially should practise in areas with no tall trees or buildings and where there aren’t many birds. This means that a big open field with few buildings in the surrounding area and without power lines in the immediate vicinity is a good training ground.

Observe the daylight situation
The more experience a drone pilot has, the more demanding his subjects and flight environment can become. As is usual with almost all panoramic photos, the best times for a drone flight are early morning at sunrise and early evening at sunset. In contrast to the harsh midday sun shining down, which produces many dark shadows, the gentle light in the morning and the evening creates soft shadows and warm tones. Rain or strong wind should be avoided for two reasons: firstly, it is almost impossible to produce clear images in bad weather and secondly, the expensive equipment shouldn’t be put under too much strain.
Unique photos depend on camera setup
We recommend that you save your images as raw data in RAW format so that you can edit your aerial photos comprehensively afterwards. The auto focus should be switched off and set manually to almost infinity for panoramic shots. You should choose a short exposure time of at least 1/250 to produce steady photos. You can achieve additional stability by using a higher shutter speed of 1/500 or 1/1,000. You will need to increase the ISO value accordingly if you are working with higher shutter speeds. The ideal speed is in the 400–1,600 range. We recommend that you use an aperture setting of F4.5 to F6.3 when taking a photo from above. However, as most photos are taken from some distance away, this speed could be increased even more.
Our tips at a glance:
- Find out about the legal requirements of drone use in your chosen area in advance
- Choose a suitable camera and accessories for the type of photo and requirements – a smartphone will do for simple photos
- At first, start practising on easy terrain
- It’s best to only take off in good weather, ideally in the soft morning or evening light
- Turn off the auto focus and set it manually to almost infinity. Play it safe by using high shutter speeds; adjust the aperture and the ISO value
- Save your photos in RAW format so that you can edit them extensively later
Related posts
-
 Interview with Hans Burkhardt
Where do you like to read best? Sitting at a table. Surely not lying, not on the beach and not in bed. Learn more...
Interview with Hans Burkhardt
Where do you like to read best? Sitting at a table. Surely not lying, not on the beach and not in bed. Learn more... -
7 Tips for Designing the Perfect Holiday Photo Book
The most beautiful moments of your summer in the best photo book.
-
Fotobuch gestalten
Nach der Pflicht die Kür, nach der Planung die Gestaltung. Im zweiten Teil seines Artikels für das Fachmagazin...
-
Ein Fotobuch richtig planen
Haben wir von Famlienbloggerin und Fotobuch-Expertin Kristin Reinhard erfahren, wie man ein Foto-Jahrbuch mit...
-
Create a photo yearbook with family photos
Designing a yearbook with family photos doesn't sound particularly exciting or even difficult, does it? All you have...
